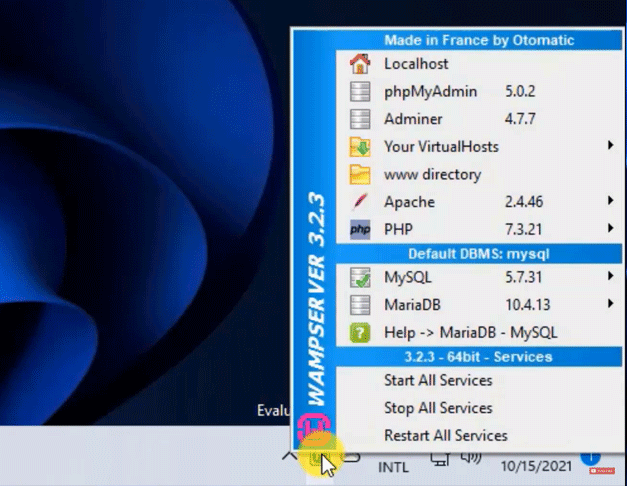
What’s WampServer?
WampServer is a Windows Web Development Environment. It allows users to create web applications with Apache2, PHP, a MySQL database, and MariaDB. Alongside, PhpMyAdmin allows you to manage easily databases.
Easy and fix the problem, how to install WampServer 3.2.3 or new latest version in Windows 11 or Windows 10 but it’s also working with Windows 8 or Windows 8.1 too. With WampServer, if you don’t know how to install it you will get some errors with you installing WampServer in your Windows 11 or Windows 10. For this article, I have 3 important points to guide you.
So clearly please follow with me step by step :
Content :
1-How To Download WampServer
Go to the WampServer website and click on the download menu, choose the WampServer download button that meets the system requirement with your Windows (64bit or 32bit) and download it.
2-Before installing WampServer
To fix a problem, So you should be download and install some files first:
1 – Visual C++ Redistributable Packages for Visual Studio 2013 (Click for download)
2 – VC11 Packages (Visual C++ 2012 Update 4) (Click for download)
3 – VC16 Redistribuable (Visual C++ 2015-2019) (Click for download)
When you download completed, So please install them.
3-How To Install WampServer
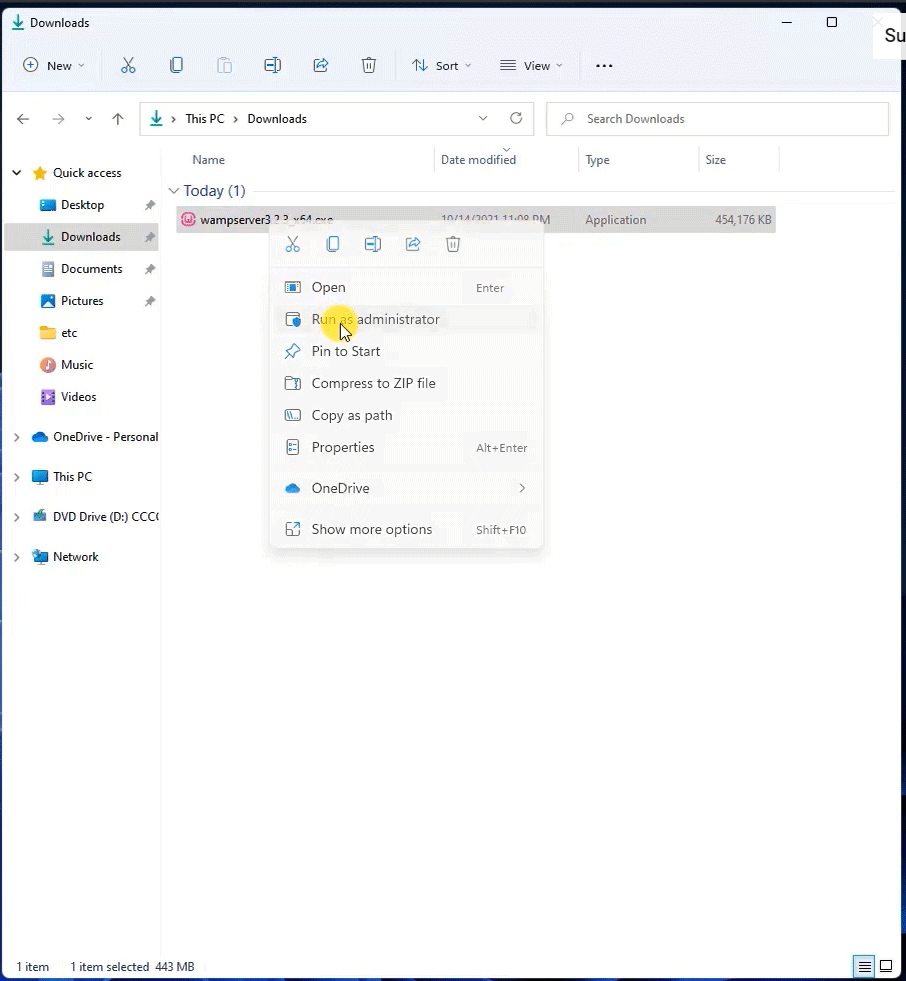
Go to WampServer download path and right-click choose Run as administrator and click Yes
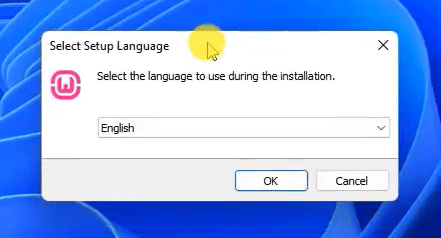
And then choose language and OK
Choose accept and Next, Next, Next, Next, Next
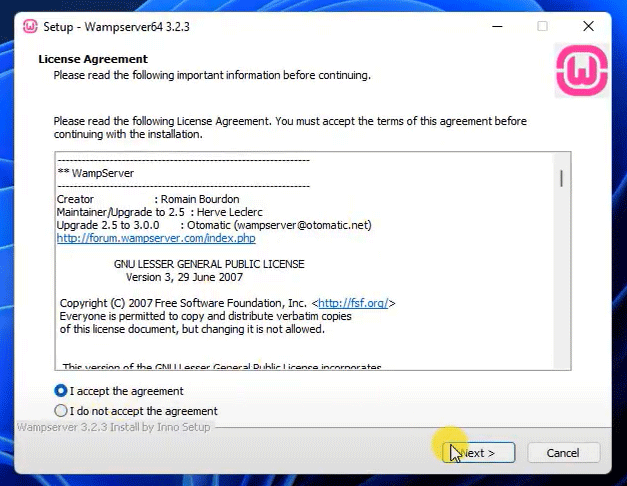
And then install.
When you install until finished, it asks you: iexplore.exe (Internet Explorer)… Do you want to choose another Browser installed on your system? So if you want to choose another browser to open your launch project, you should click on Yes, or don’t want you to click on No.
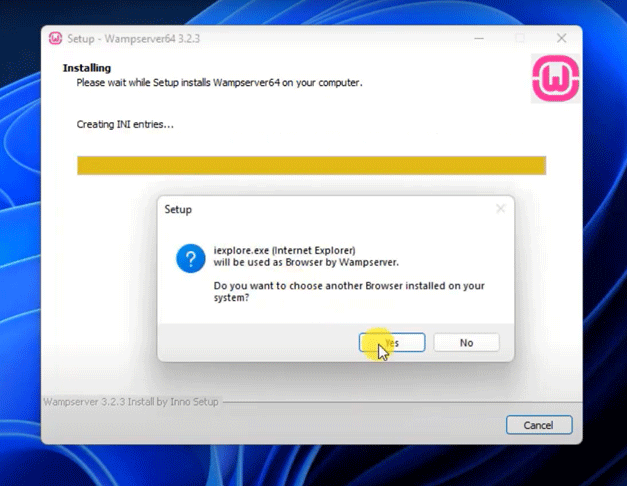
And then choose notedpad.exe and click open, and Next, in the end, click on Finish.
When you finished your installation. So you can test launch your WampServer.
